

Sign Up


The #1 Reading & Writing Program for Kids
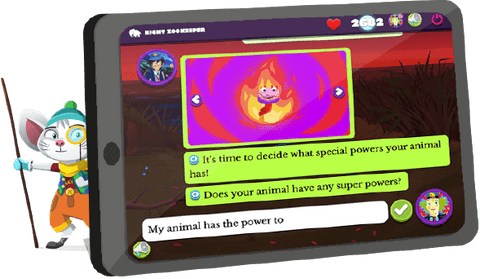
Our online program makes reading & writing fun for your child, whilst improving their spelling, punctuation, grammar, vocabulary and more.
Learn More
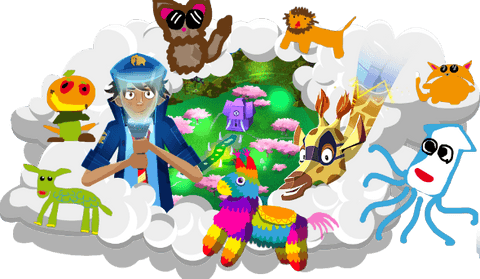
The Night Zoo: A World of Creativity & Adventure!
On our program, your child will join the magical world of the Night Zoo, inventing their own characters to help Night Zookeeper Will, Sam the Spying Giraffe, and Riya defeat the evil Lord of Nulth from destroying creativity.
Learn More
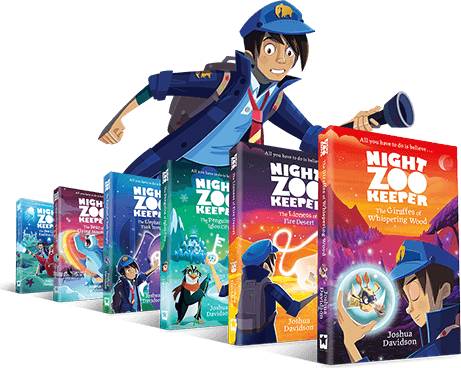
Night Zookeeper Books
Continue your child's Night Zoo adventure offline with the Night Zookeeper book series!
Learn More
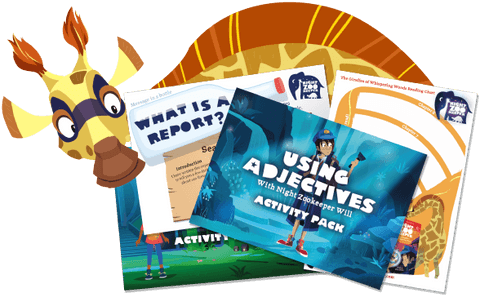
Reading & Writing Worksheets
Browse our extensive range of resources for teaching all the core skills of reading & writing.
Learn More
English Language Arts Curriculum
Learn about the standards expected from your child throughout their primary education.
Learn More
Night Zookeeper Blog


As Seen On


Our Awards


Supported By


2011-2025. Wonky Star Ltd
Registered Company No. 07706300


